have been a big help to my rebuild so far!
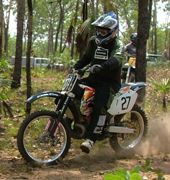
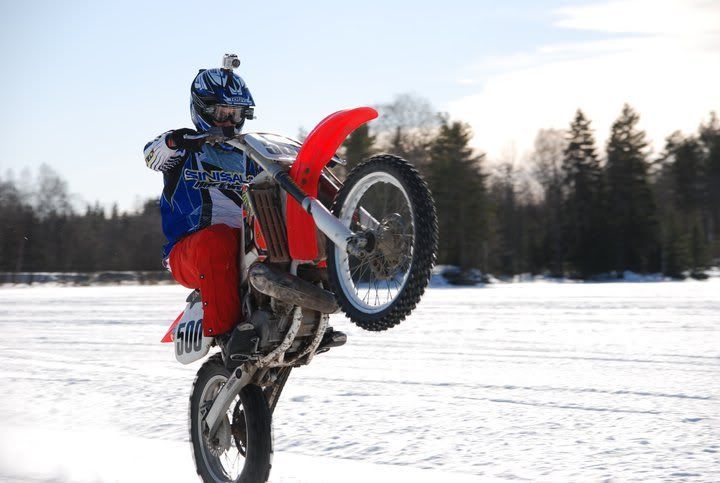
After having had a great time on my CR last winter
...a friend of mine told me to check my piston for cracks and lo and behold, there it was, almost an inch long from the bottom of the skirt of the cast Prox. Lucky check. Not long before this piston would wreak havoc in my engine.
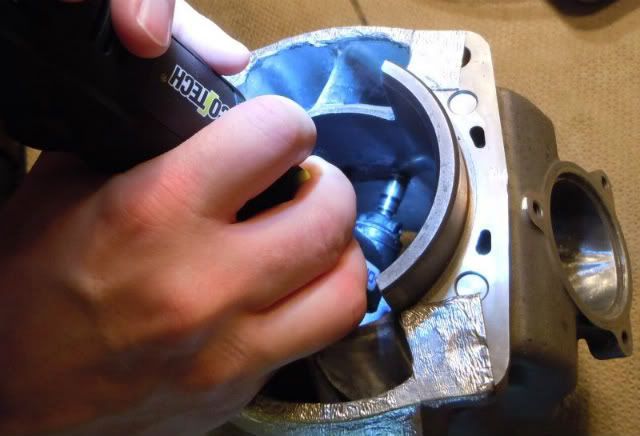
Note the small inlet ports... they're about to get bigger!
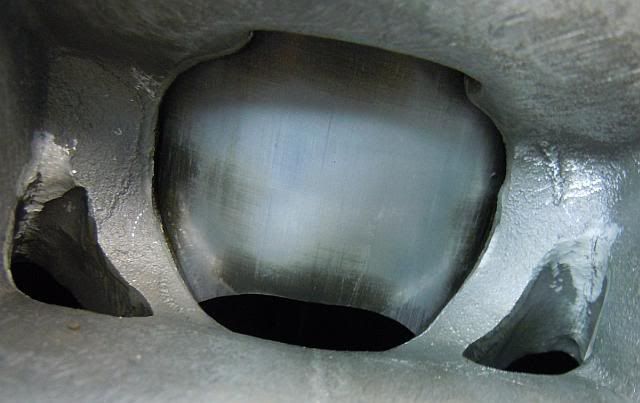
This led to a big teardown and as I really wanted a bit more revs and top-end I ported the cylinder a bit.
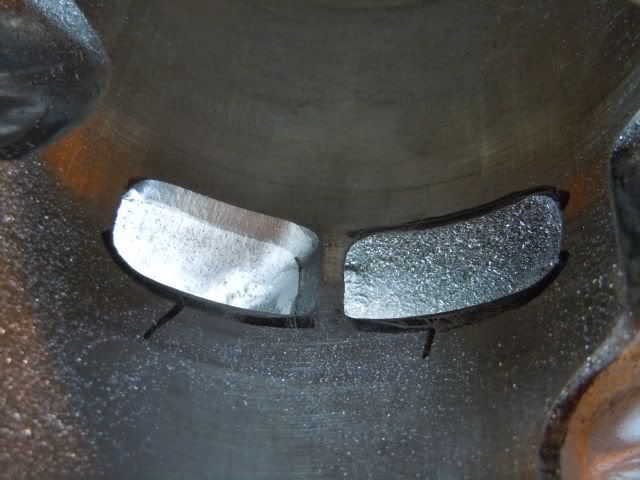
Transfer ports. One raised so far
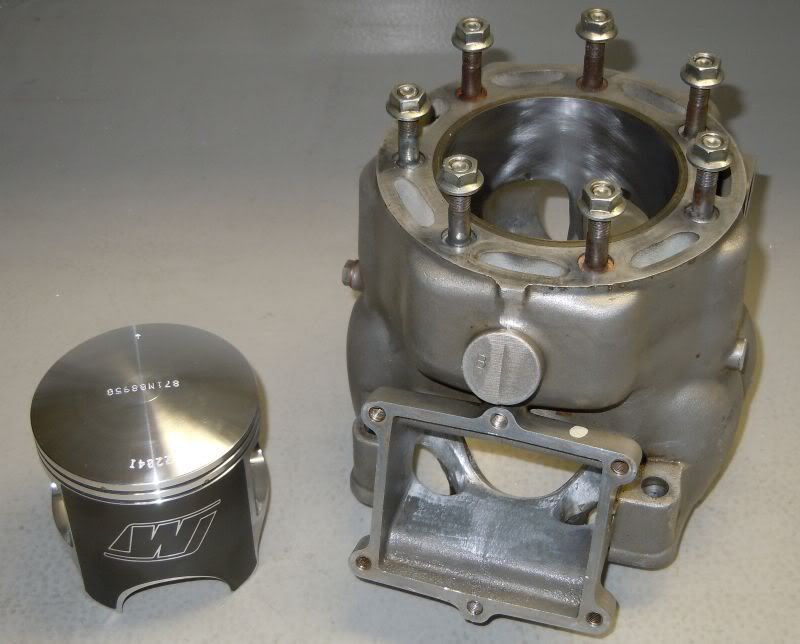
Then I ordered a Wiseco piston and had the cylinder bored out to 89,50 mm. Now the intake is a lot bigger
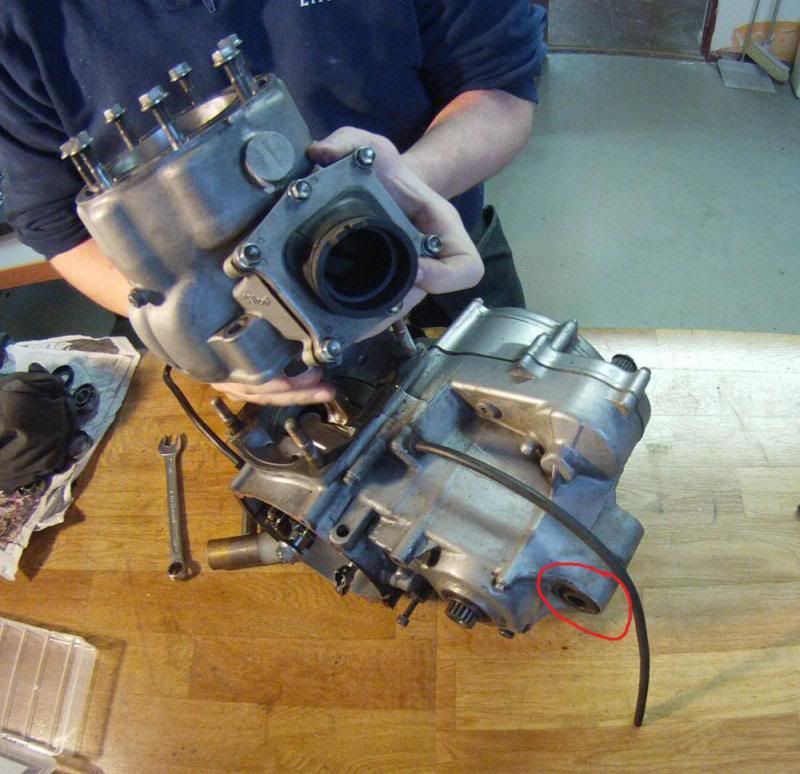
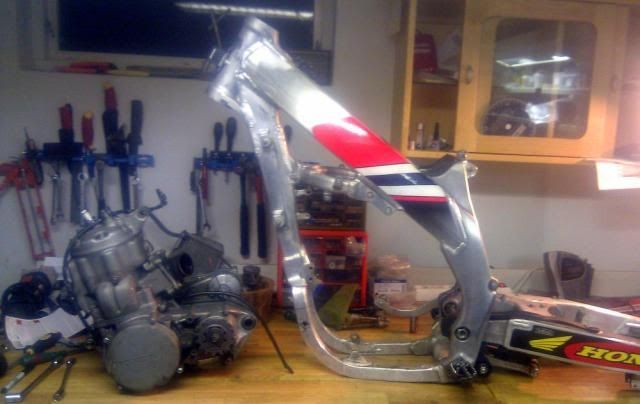
As I plan to put this engine in my '02 CRF450 SM roller I've got, I figured I might as well swap all bearings while the engine is out of the frame and have a completely fresh one to start with.
Splitting the cases, 2 yo daughter Leia helping
and pulling the bearings and replacing them
You might see me checking out doggers excellent Engine build pictorials to speed up my rebuild.
An old rear sprocket got to serve as a crank puller and it worked like a charm
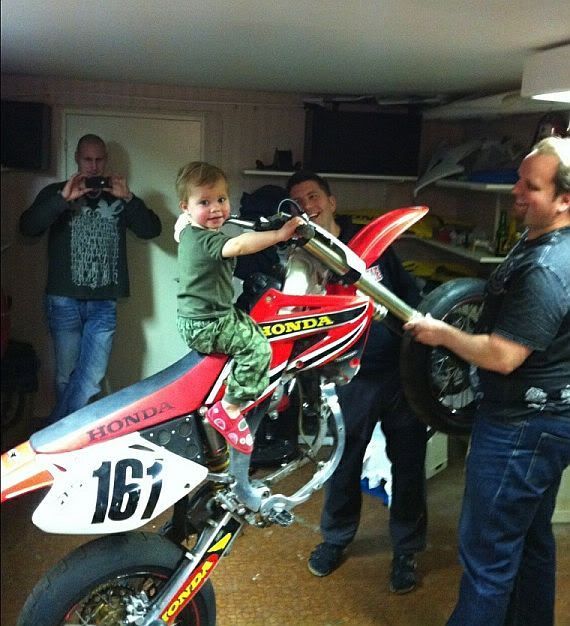
Putting the bike back together in 2.5 minutes and fitting an hour meter to keep better track of service intervals than the previous owner did.
And yes, it comes to life again and does run nicely
Hopefully I'll go iceracing this weekend and post some more footage afterwards.
// K-Man, Sweden