Finally after much talking (far too much) and several changes of mind between keeping it original sttelie or doing the swap I am once and for all going for it.
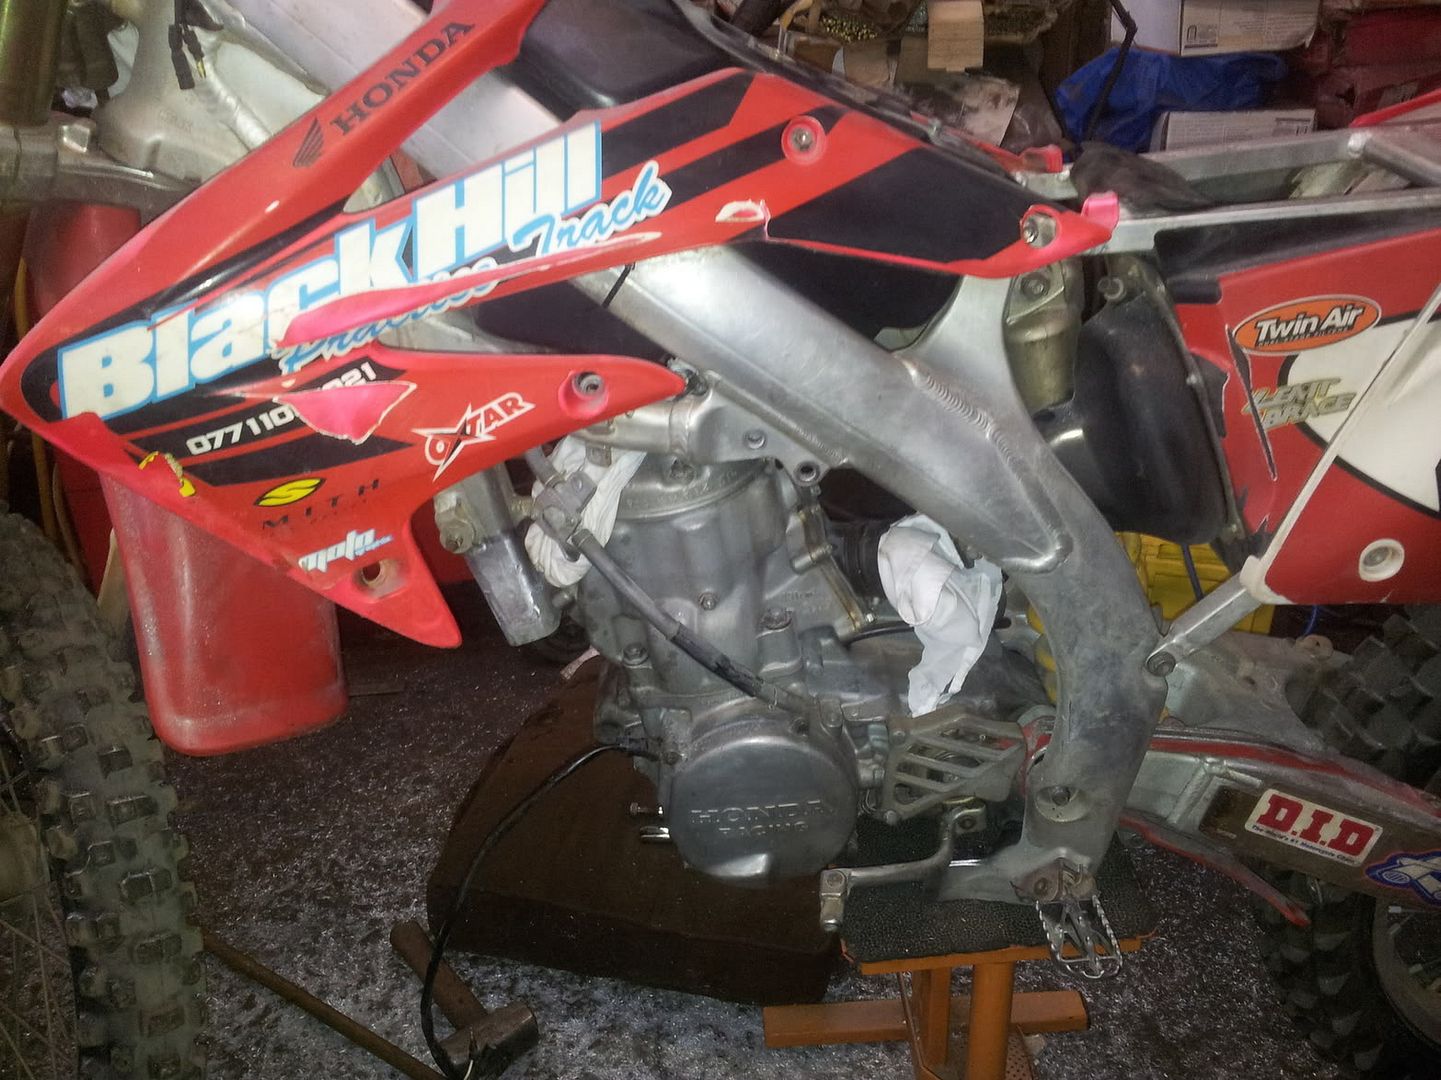
So far I have stripped sown the steelie and left it as a rolling chasis, built up my crf chasis again and now the 2 sit side by side with the engine stuck in the middle.
Have ordered myself a nice new exhaust (pro circuit), bearings and the 99cr250 airbox/boot.
sorted out my kickstart with a nice new internal ball and spring.
My clutch cover acquired a hole in it from the brake lever so i decided id get myself Boyesen racing covers for both clutch and ignition, and have a Boyesen rad valve on its way also.
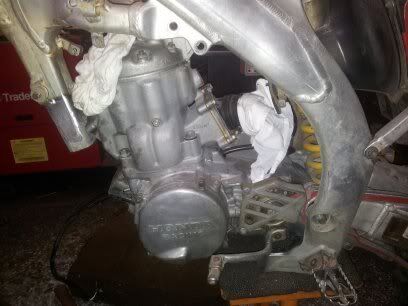
once i had the engine out i took the head off to have a quick look at the piston etc and see what its like inside. Might just put a new piston, ring etc in now whilst its out and be assured that I know what I have. Maybe even a little cheeky bit of polishing and porting???
Currently building a blasting cabinet, the one we currently have is not large enough to fit the engine, then hopefully dad will bead blast the engine and help revive the look. (we tested this on the busted crf engine pieces in the small cabinet)
Fabrication wont start untill i receive my exhaust sytem, as I want to get everything aligned up properly first time round.
2008 crf450 - 500af
-
AlisoBob

- "Hoon-father"
- Posts: 15405
- Joined: May 31st, 2007, 6:39 pm
- Last active:
- Location: Aliso Viejo Ca
Re: 2008 crf450 - 500af
Good thinkin'!!!_mel_45_ wrote:Fabrication wont start untill i receive my exhaust sytem, as I want to get everything aligned up properly first time round.

BR8ECM Is the standard "shorty" plug. It's used in KTM's.
If you want to spend some big bucks, and get even more clearance,
use this:
Plug: R7282-8
Cap: TRS1225
(the plug and cap are specific to each other.)
If you want to spend some big bucks, and get even more clearance,
use this:
Plug: R7282-8
Cap: TRS1225
(the plug and cap are specific to each other.)
Yah, I'm from Saskatchetoon!
MRE 02 250/500 conversion, pulse injector, twirp porting, coolhead, MRE ignition, blah blah blah blah... www.millarengines.com
MRE 02 250/500 conversion, pulse injector, twirp porting, coolhead, MRE ignition, blah blah blah blah... www.millarengines.com

the KTM one it is then lol.mxdogger wrote:yes and there $100 for the pair, very pricey
I was going to buy a conversion kit from yourself or pstoffers to aid my build, however after working it all out, by time it would get to Ireland and VAT and import duties paid and after talking to my fabricator about making our own pieces, it works out roughly half price to make them here rather than pay all the taxes and duties.
Same goes with everything I have been looking for the bike, there is so much stuff on Ebay USA at reasonable/sensible prices but hardly anything over here

the original one, just has a perspex style top on it so you can see what your doing with an outlet for the blasting hose, and hands. In theory the one we build should just be a bigger version. This is dependant ofcourse on my dad funding it, as he would be using it for other jobs such as refurbing alloy wheels etc.Tharrell wrote:Off topic but, I wanna see your blasting cabinet when it's done.

-
Rhino89523

- Posts: 1234
- Joined: November 18th, 2010, 1:45 pm
- Last active:
-
Rhino89523
- Posts: 1234
- Joined: November 18th, 2010, 1:45 pm
- Last active:
Not at the minute. Plan is to keep the original chasis alongside the af build. Seems people here would rather buy them in steel frame rather than buying someone elses conversion. So when/if I sell I will most likely sell as a job lot with the option of steel or af chasis.Rhino89523 wrote:You selling that shock?
mel it will be ok to start cutting the y out, you will need to do this first so the motor can be installed to determine the correct position in the frame. I took a crf250 rolling chassie flipped it upsidedown like a bicycle, cut the y out, flipped it back on its wheels, set the motor in and clocked the motor so the honda logo on the clutch cover was level.
this needs to be done with the bike sitting up under its own weight. then you can add your radiators and exhaust, adjust motor a couple millimeters up or down til you feel all lines up well. once you found that spot hold the y up to the frame as so it clears the exhaust opening and mark your downtube for the cut, allow enough of the downtube to slide into the top of the y.
this info should give you a good idea of where to start, also read other crf builds, look at as many pics as you can till you feel comfortable about what you need to do.
sweet thats a great basis. As much as I cant do the welding work myself, I still want to get involved as much as I can, as it's nice to say I built that.mxdogger wrote:mel it will be ok to start cutting the y out, you will need to do this first so the motor can be installed to determine the correct position in the frame. I took a crf250 rolling chassie flipped it upsidedown like a bicycle, cut the y out, flipped it back on its wheels, set the motor in and clocked the motor so the honda logo on the clutch cover was level.
this needs to be done with the bike sitting up under its own weight. then you can add your radiators and exhaust, adjust motor a couple millimeters up or down til you feel all lines up well. once you found that spot hold the y up to the frame as so it clears the exhaust opening and mark your downtube for the cut, allow enough of the downtube to slide into the top of the y.
this info should give you a good idea of where to start, also read other crf builds, look at as many pics as you can till you feel comfortable about what you need to do.
-
AlisoBob
- "Hoon-father"
- Posts: 15405
- Joined: May 31st, 2007, 6:39 pm
- Last active:
- Location: Aliso Viejo Ca

About 8 seconds after the motor was out, Sawzall was put in action.... 1,2,3 Done!


2 minutes after that, the dummy motor was in place... SWEET! These are Gen 1 mounts. They fit the Gen 3 perfect, and look serviceable in the Gen 4 as well.
This is me, building my CRF250X based bike. I had no idea where to cut, So I just lopped off the "Y" at the closest points. The cradle cuts were right on the money, and the down tube got another 3" or so whacked off by the time it was all said and done.
You can do the whole thing yourself, and have it welded by a Pro... no biggie.
-
quicfix500
- Posts: 30
- Joined: March 14th, 2010, 4:52 pm
- Last active:
- Location: Fresno Calif
[quote="Nodge"]BR8ECM Is the standard "shorty" plug. It's used in KTM's.
http://www.powersportsplus.com/parts/de ... 87997.html get em while they last! thats for one plug but better than 17.00 i paid at the bike shop.
http://www.powersportsplus.com/parts/de ... 87997.html get em while they last!
-
quicfix500
- Posts: 30
- Joined: March 14th, 2010, 4:52 pm
- Last active:
- Location: Fresno Calif
quicfix500 wrote:they were 1.45 but they jumped to over 8.00 today!Nodge wrote:BR8ECM Is the standard "shorty" plug. It's used in KTM's.
http://www.powersportsplus.com/parts/de ... 87997.html get em while they last!
i have been looking for the short plug that is used by some banned riders on the conversion and knew it was expensive but this is redonkulus
http://www.eziautoparts.com.au/ngk-spar ... 282-8.html
this is some times why i shop abroard
http://www.eziautoparts.com.au/ngk-spar ... 282-8.html
this is some times why i shop abroard
Just to let you all know I haven't vanished off the face off the earth, I have been rather busy lately and sometimes need to prioratise things.
Well finally after a long long wait, my procircuit system has arrived , and as far as Im aware I have all the parts necessary to get building.
My father has taken ill though so this means I have to go to University, do my own job and do his work aswell, so I can't get as involved with my build as I would like .
.
Well finally after a long long wait, my procircuit system has arrived
My father has taken ill though so this means I have to go to University, do my own job and do his work aswell, so I can't get as involved with my build as I would like
well today I finally got some time away from work, university and doing dads work to get started on the build.
started out the day with the bike sitting like this.
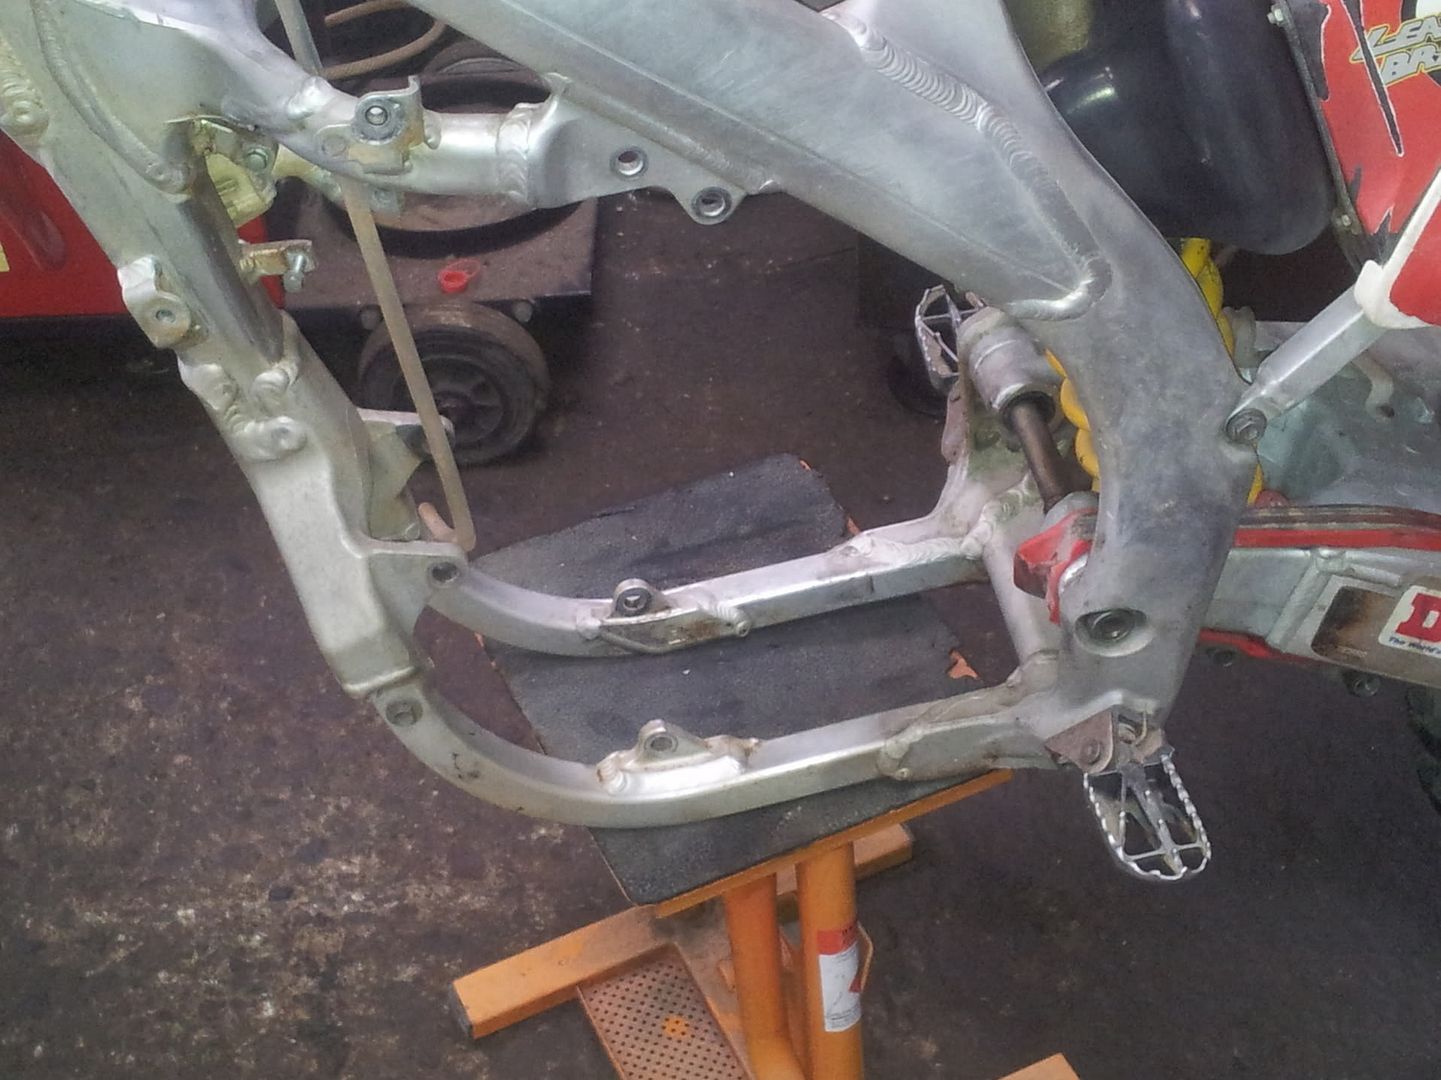
then got to cutting out the cradles.
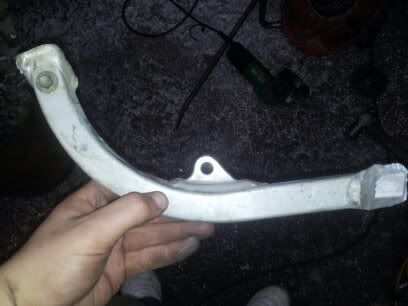
the left hand side cradle removed. Taking this to get a new cradle formed, so il be sure to get the correct bend matched up and correct density etc.
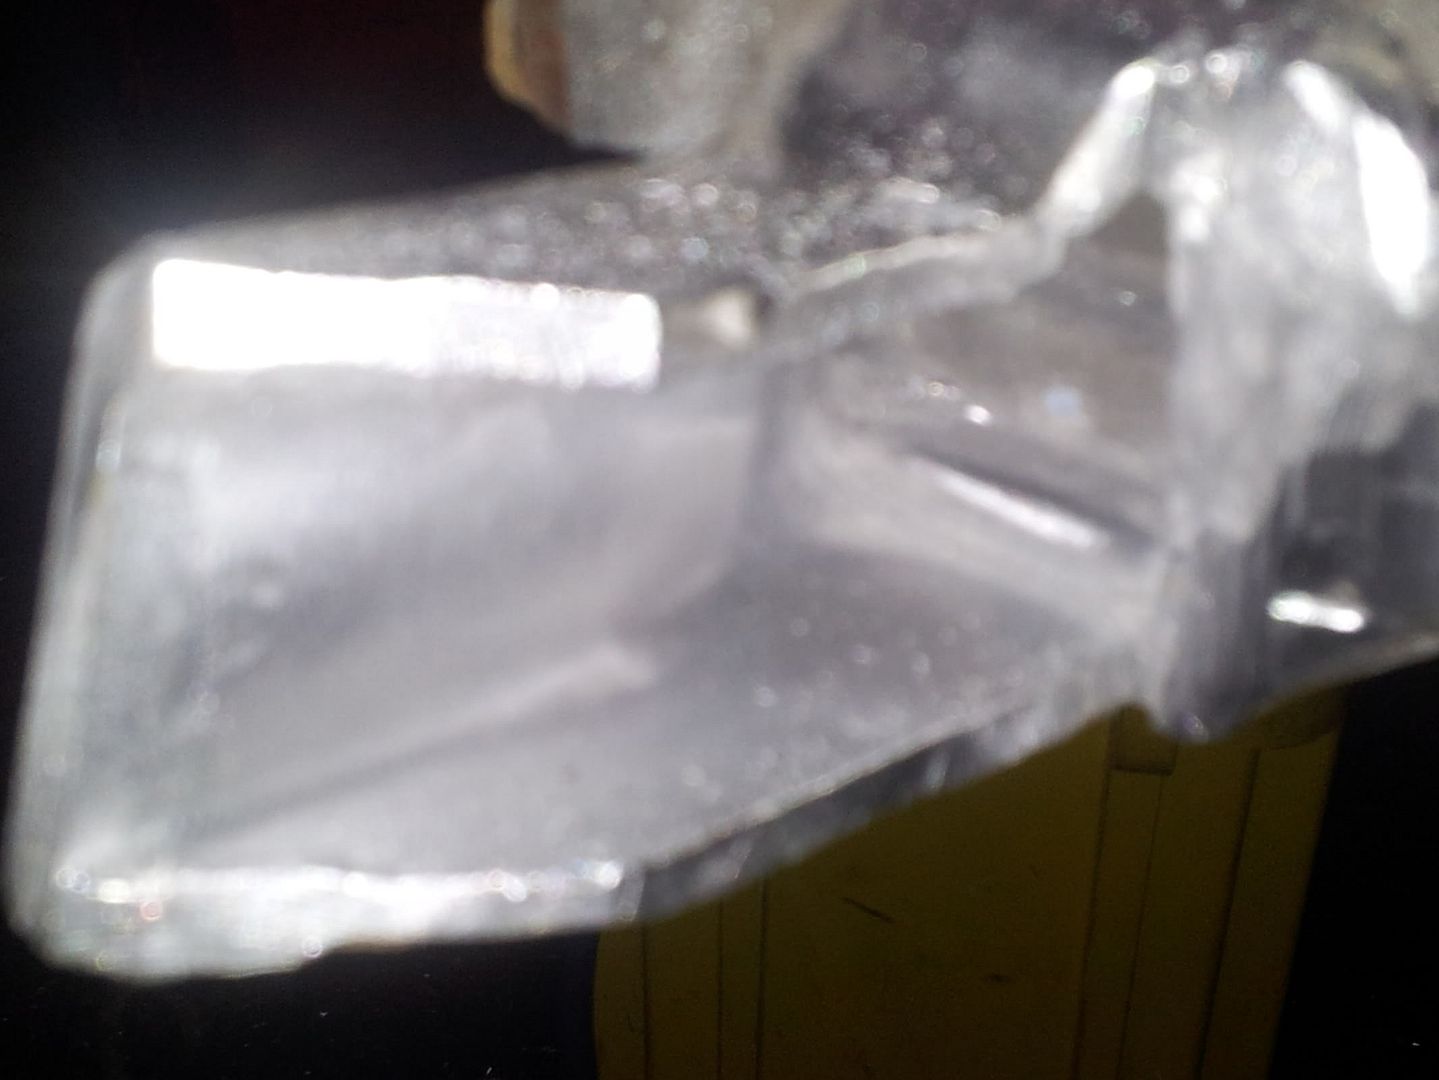
Then got the excess tubing that was left in at the peg slot out.
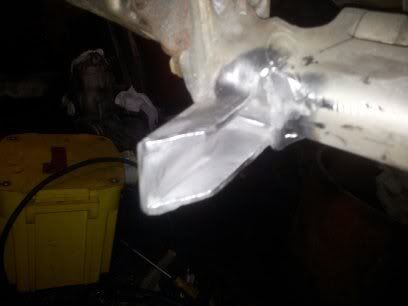
cut out the y piece then.

done some grinding after removing the y piece just to clean it up a bit and remove rough edges.
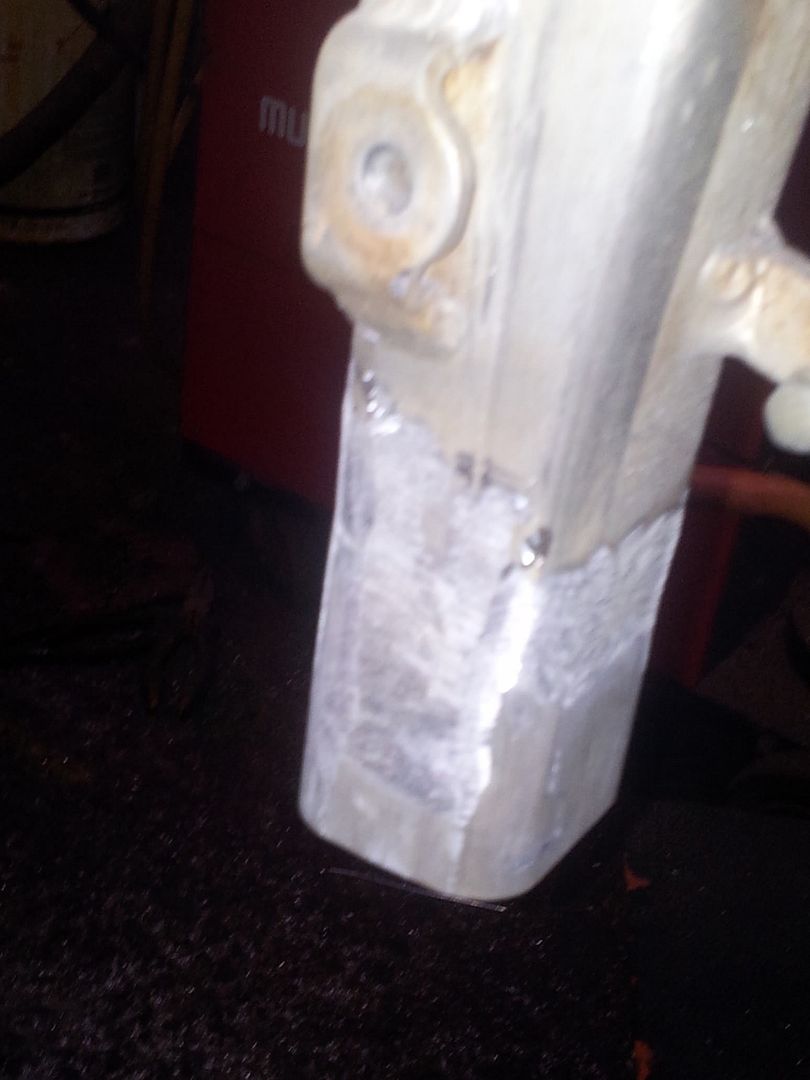
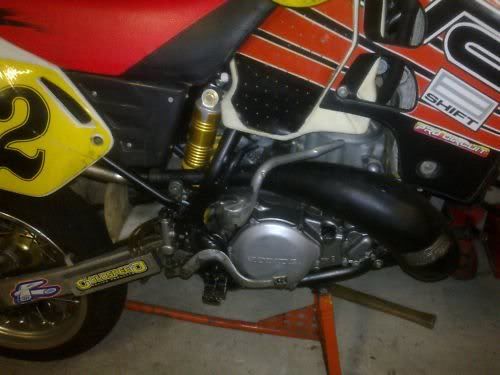
next set the engine in and checked where i would need to cut for exhaust clearence. i know engine isnt 100% level here, but got the spirit level out and fixed this after.
thought id check for tank clearances etc.
By end of the day got the frame adjusted for the y piece ready to be tacked in, and new cradles to be set in etc.
started out the day with the bike sitting like this.
then got to cutting out the cradles.
the left hand side cradle removed. Taking this to get a new cradle formed, so il be sure to get the correct bend matched up and correct density etc.
Then got the excess tubing that was left in at the peg slot out.
cut out the y piece then.
done some grinding after removing the y piece just to clean it up a bit and remove rough edges.
next set the engine in and checked where i would need to cut for exhaust clearence. i know engine isnt 100% level here, but got the spirit level out and fixed this after.
thought id check for tank clearances etc.
By end of the day got the frame adjusted for the y piece ready to be tacked in, and new cradles to be set in etc.