and complete the bottom end portion of the rebuild.
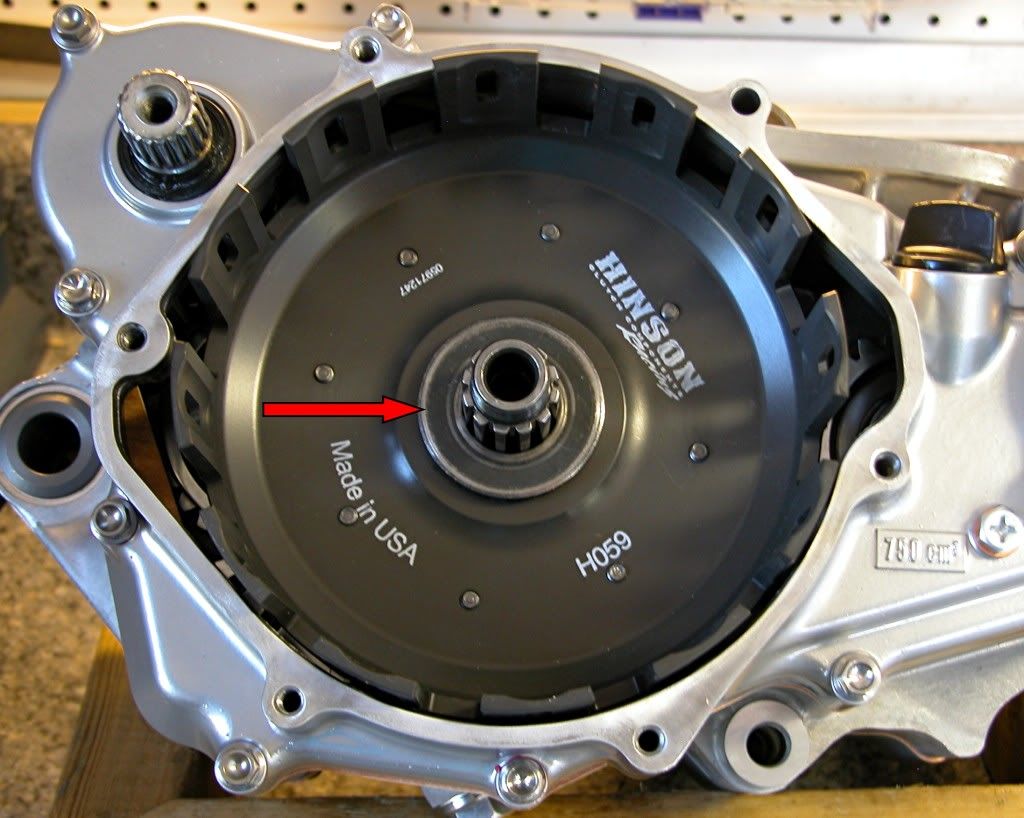
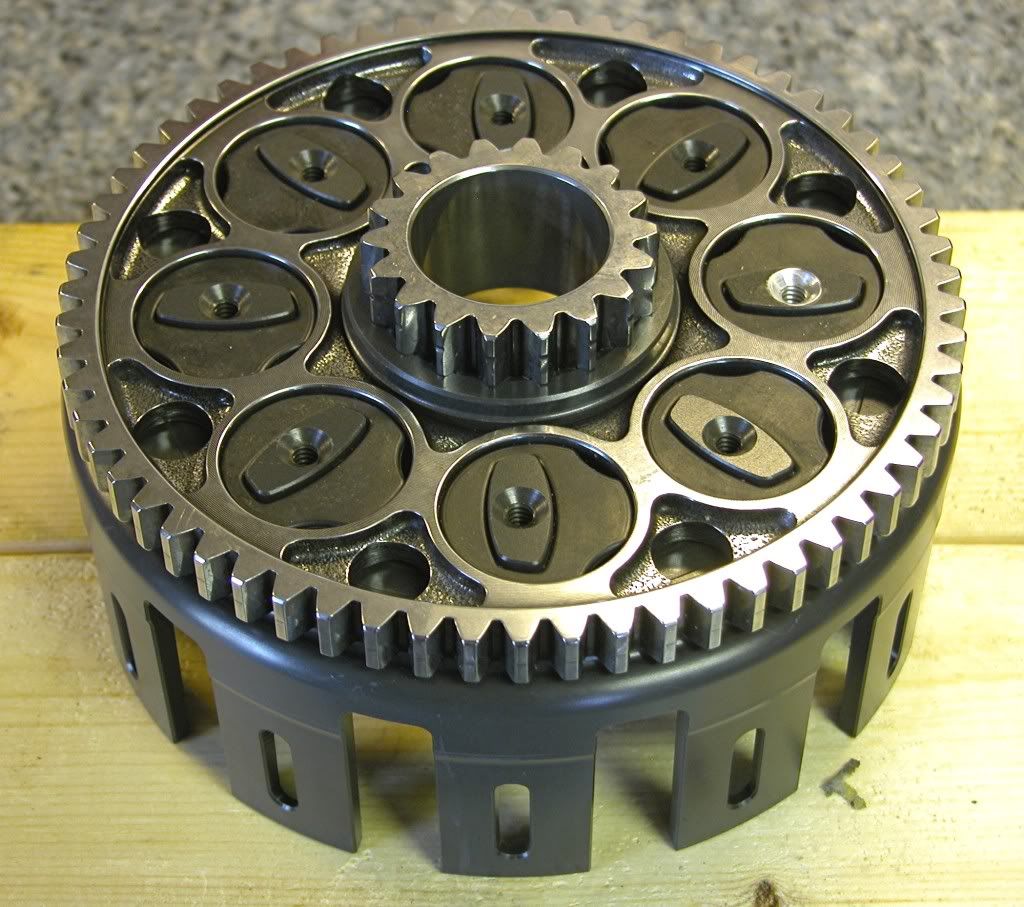
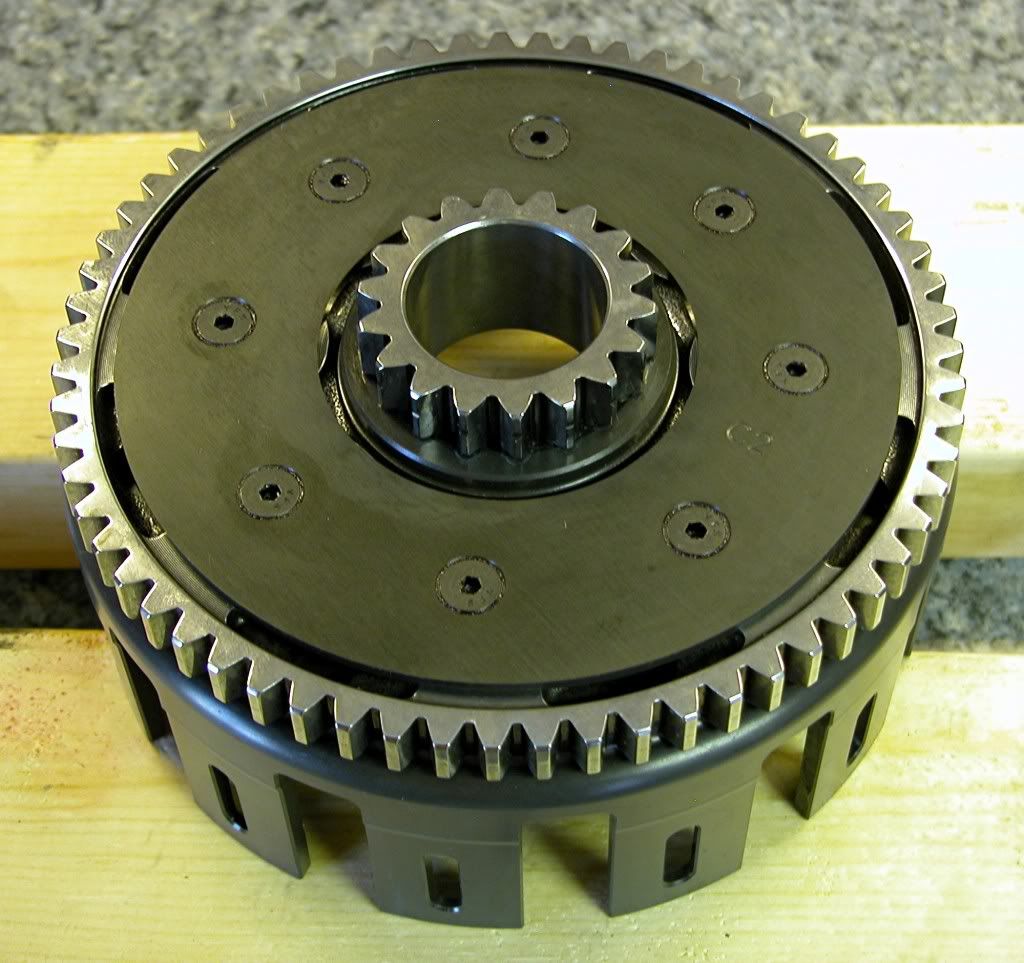
First up is the clutch. The clutch outer was already installed in the
last section so now it's time for the rest of the components.
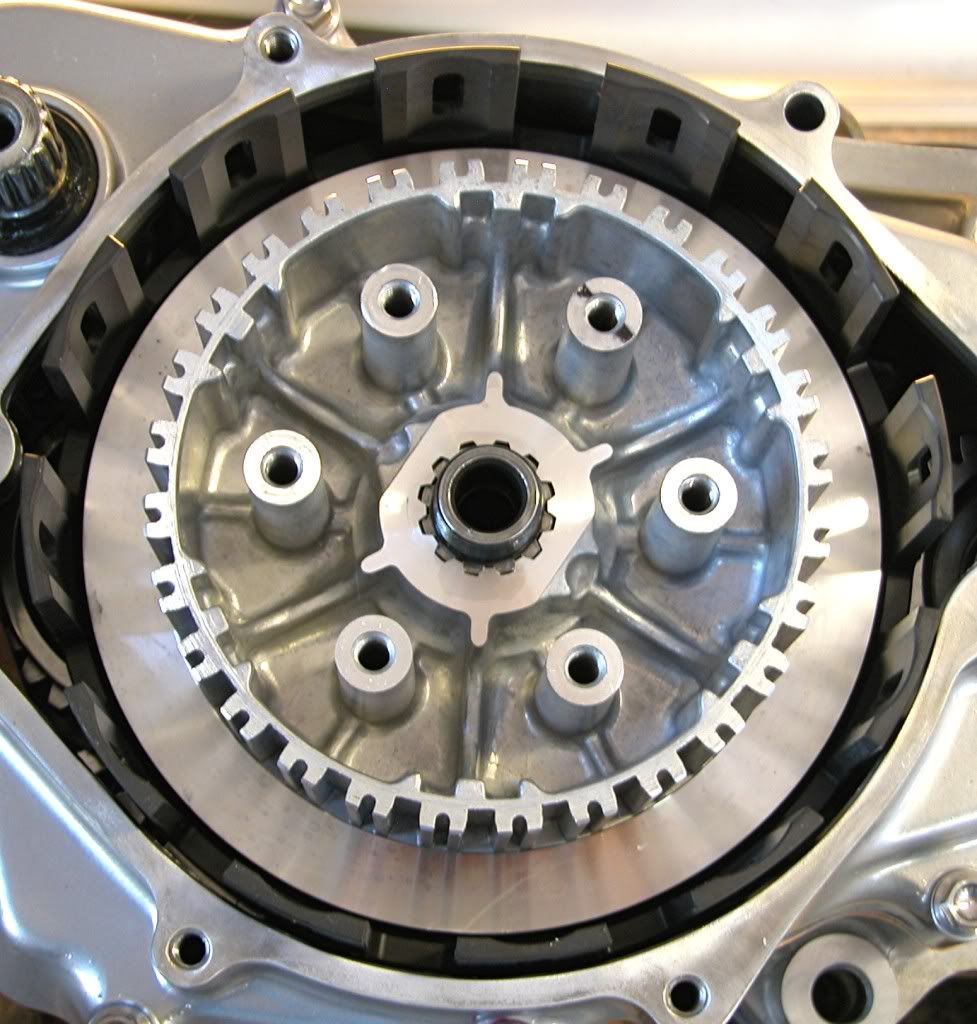
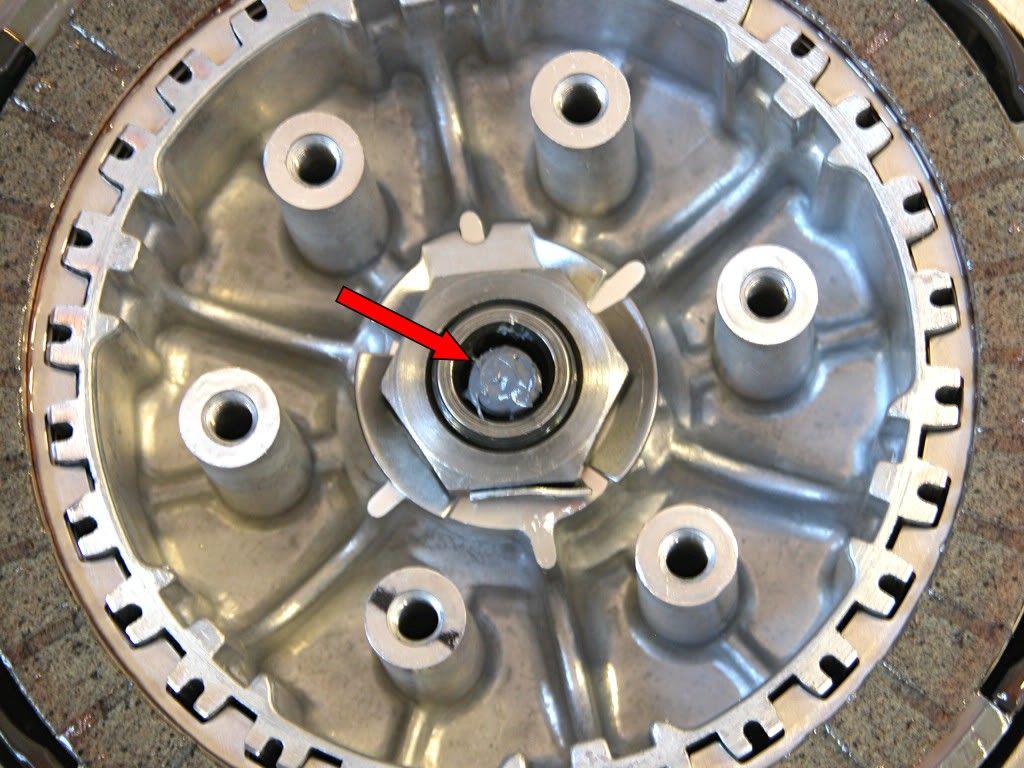
Install the thrust washer as shown.

Install the clutch inner.
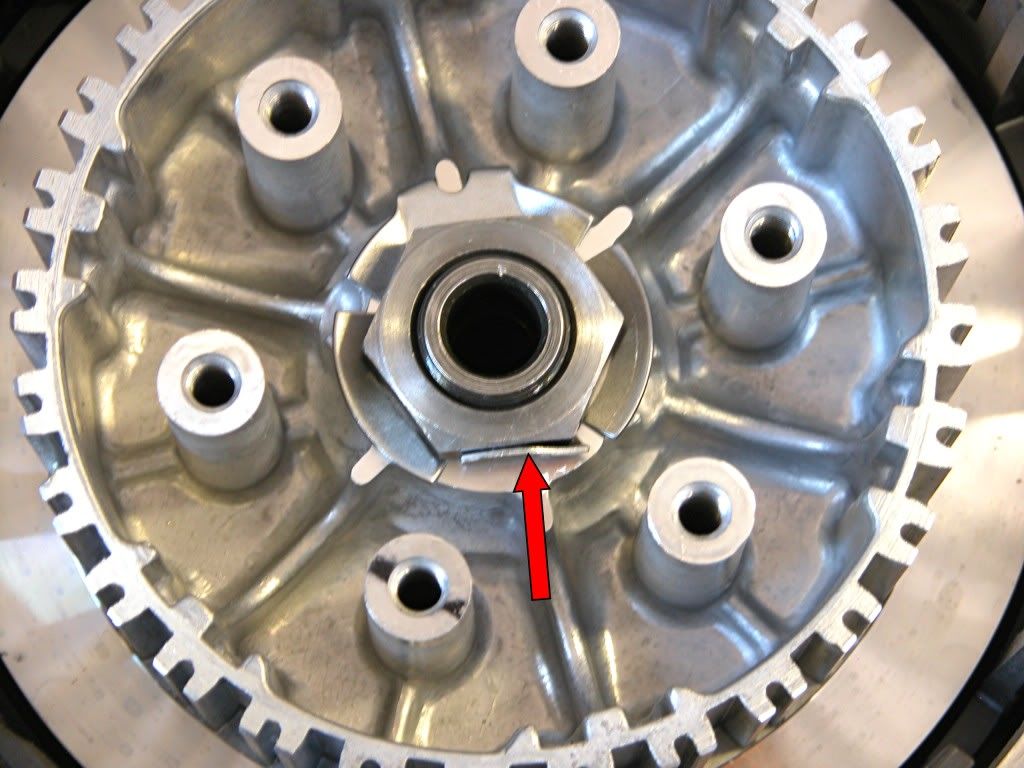
Place a lock washer over the mainshaft.
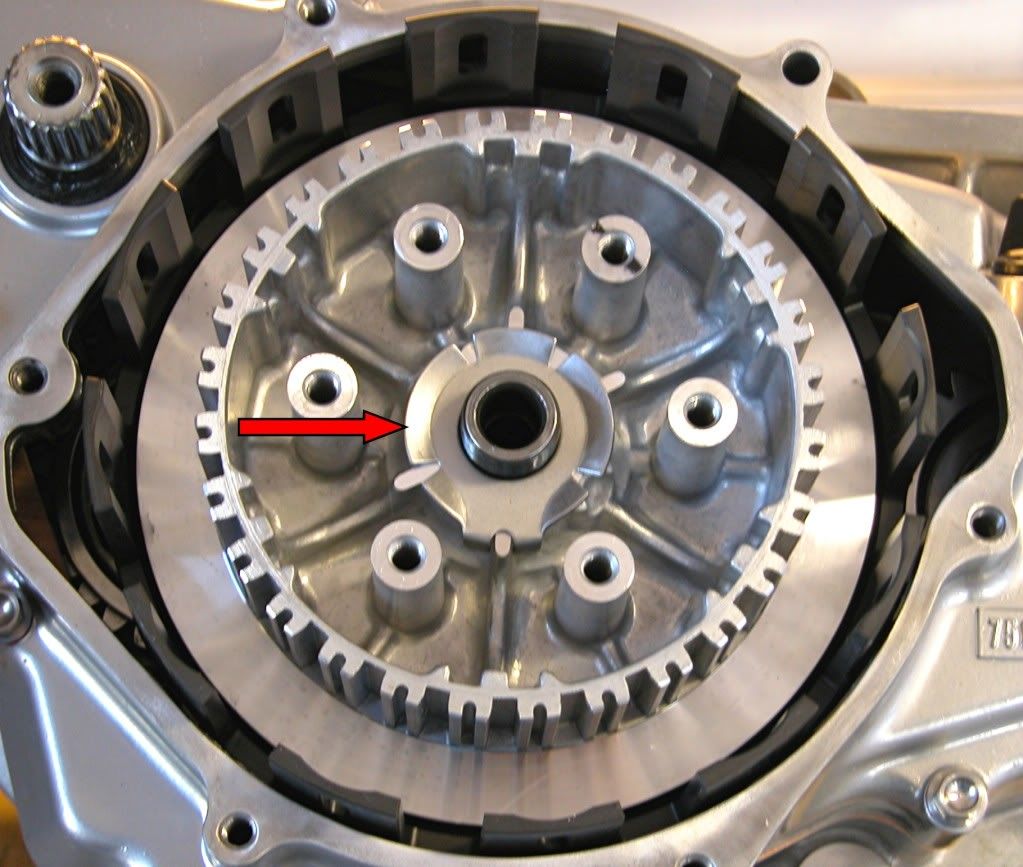
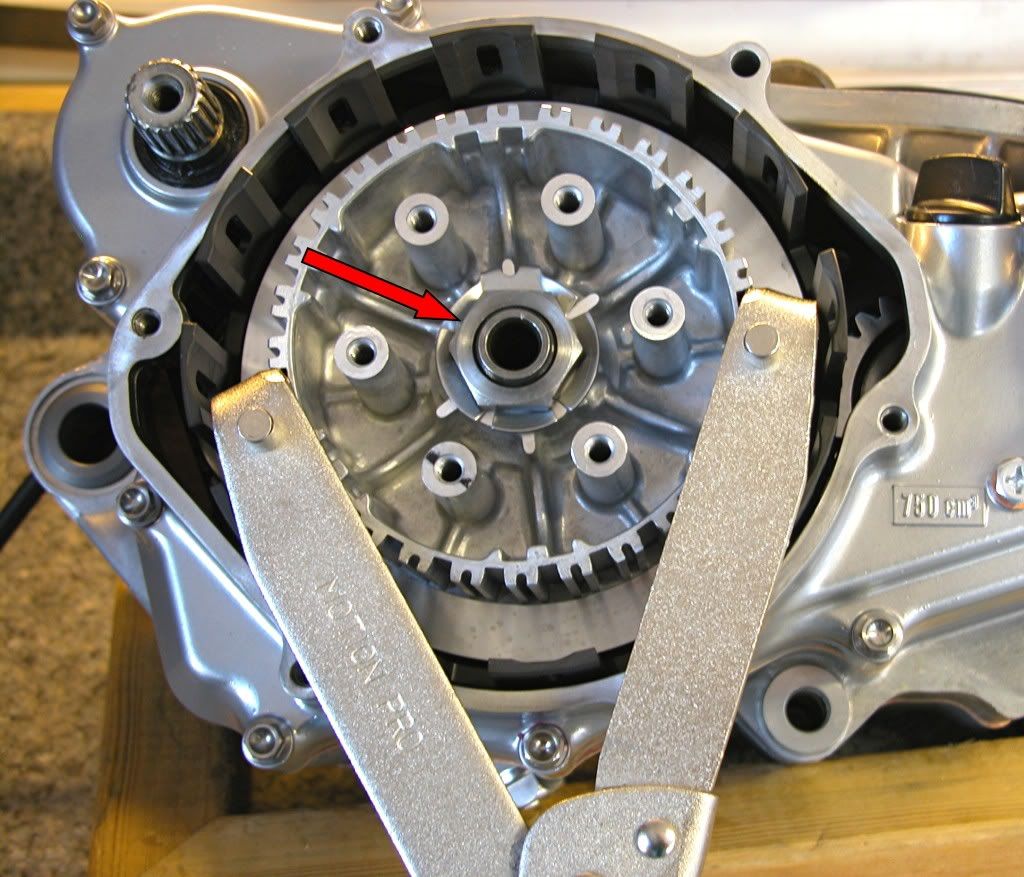
Thread the retaining nut onto the main shaft. Clamp a clutch retaining tool
on the inner and torque the retaining nut to 59 lb.ft.
Bend at least one of the ears of the lock washer against the retaining nut.
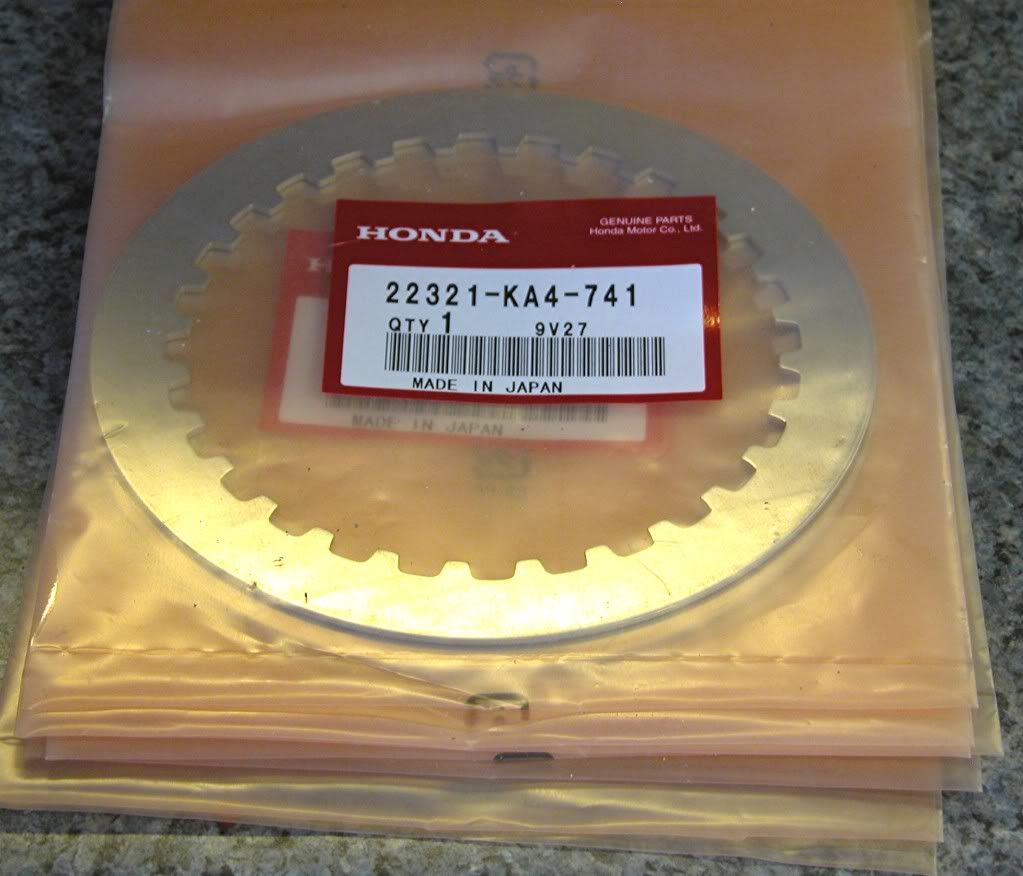
Soak the fiber plates in gear oil.
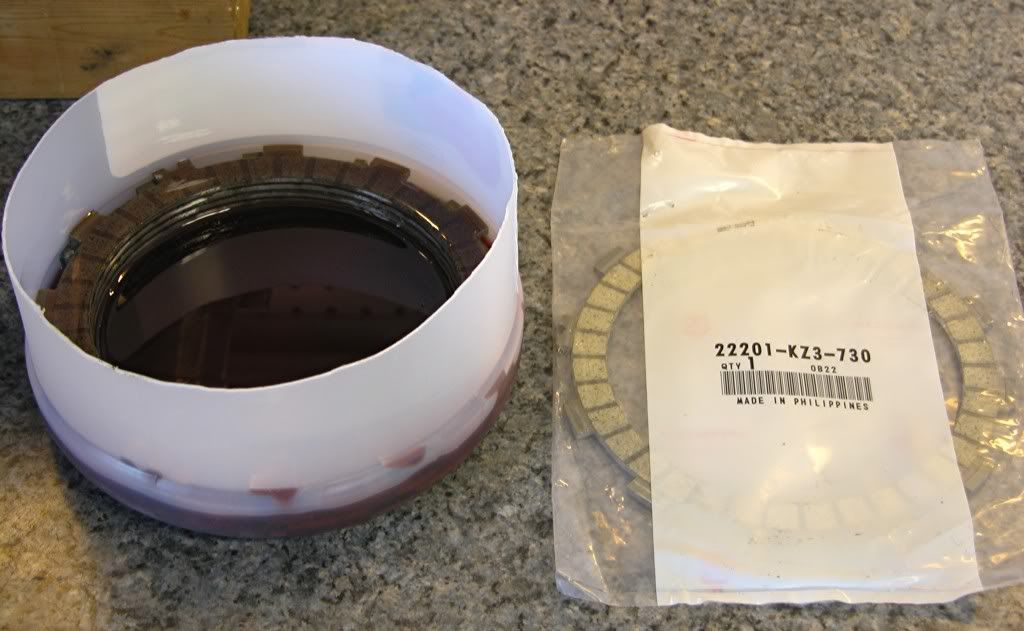
I like to use OE Honda fiber and metal plates when using an OE cast
Aluminum inner and pressure plate. Clutch disc with Kevlar are hard
on the soft cast aluminum parts and may cause premature wear.
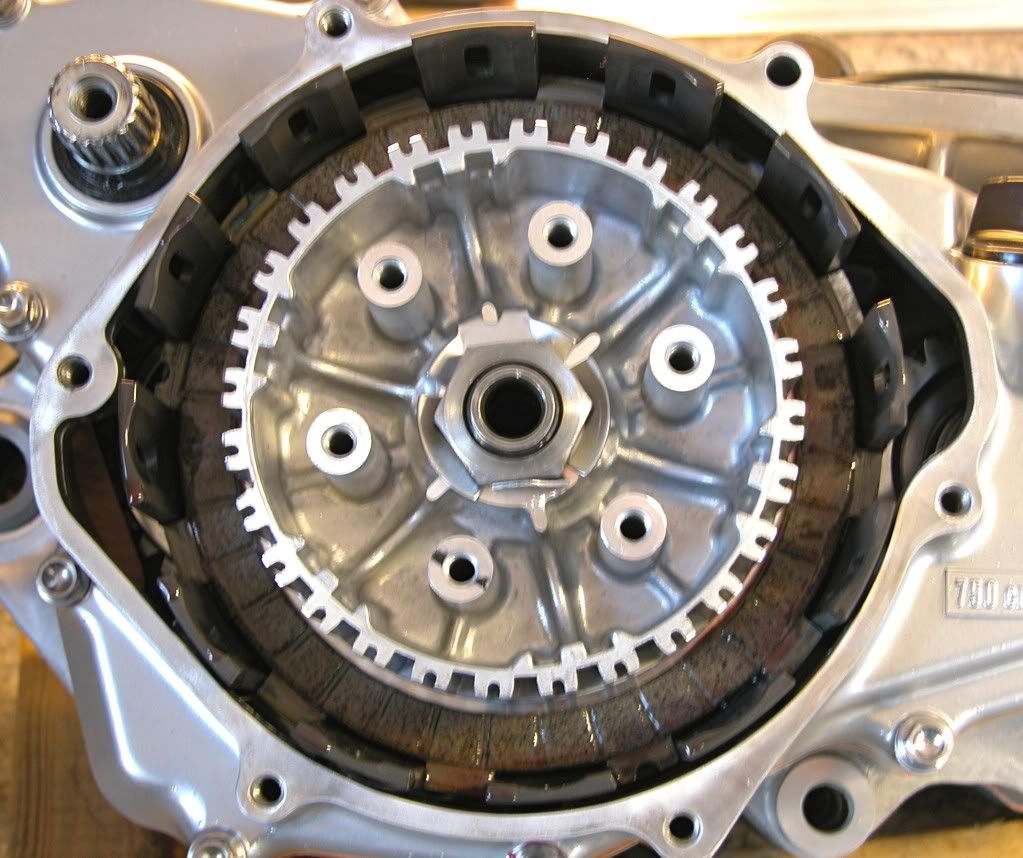
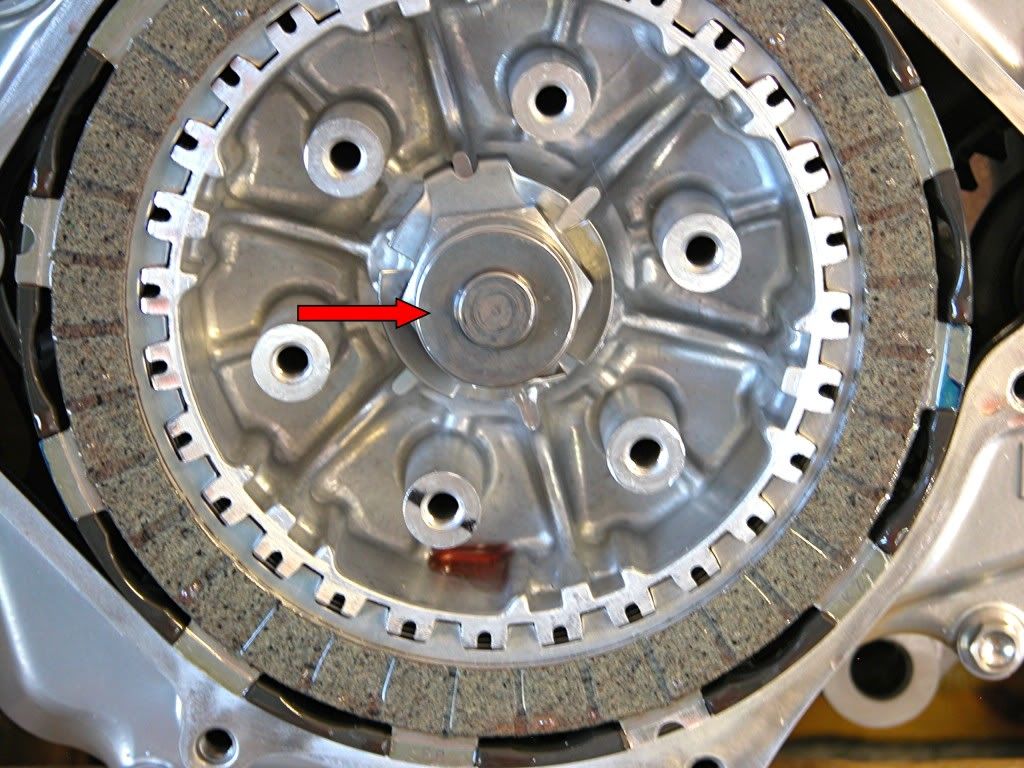
Load the clutch pack starting and ending with a fiber plate.
Apply Moly grease to both ends of the clutch actuating rod and insert into
the mainshaft.
Dip the clutch hat in gear oil and install.
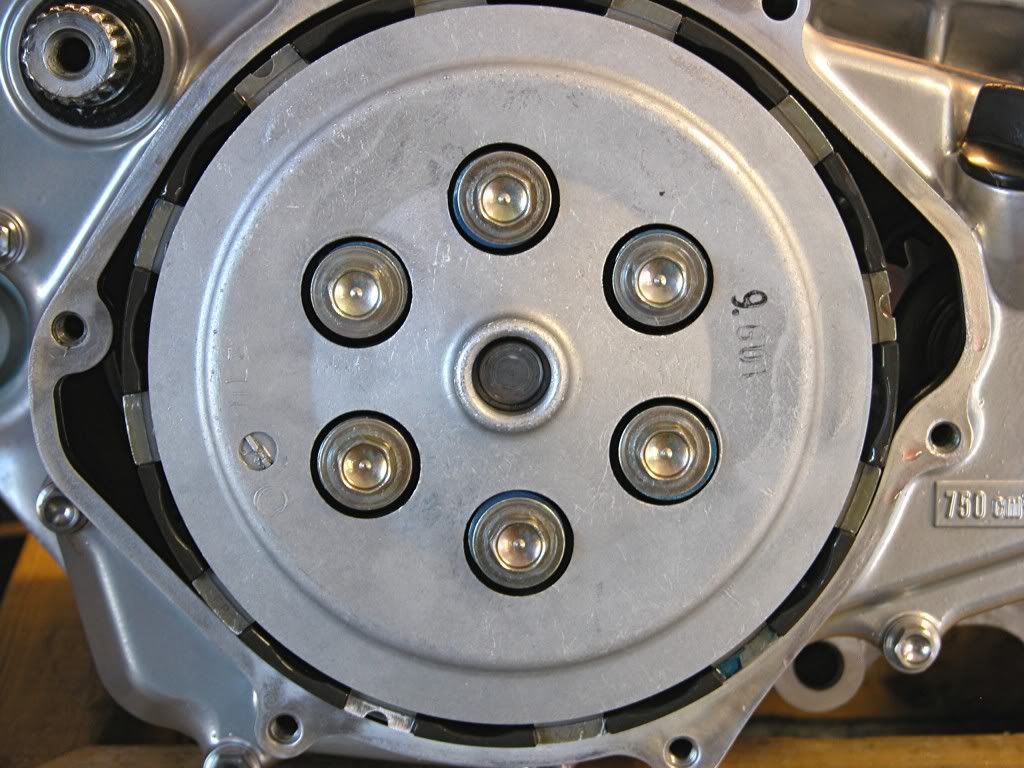
Install the pressure plate, clutch springs and bolt/washers. Tighten the bolts
in 2 or 3 steps and in a criss cross pattern to 7 lb.ft.
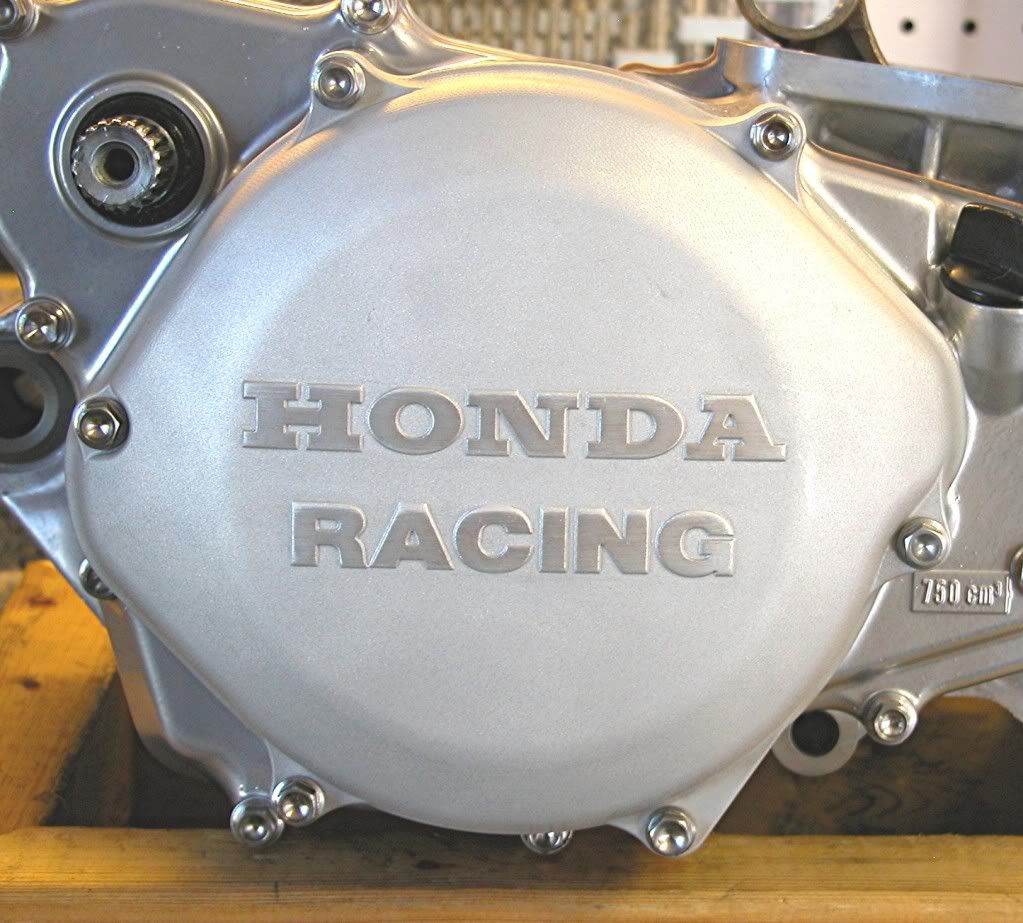
Smear some gear oil on the clutch cover O-ring and install the clutch cover.
Tighten the bolts to 5 lb.ft.
Install the kick start lever and tighten the bolt to 20 lb.ft.
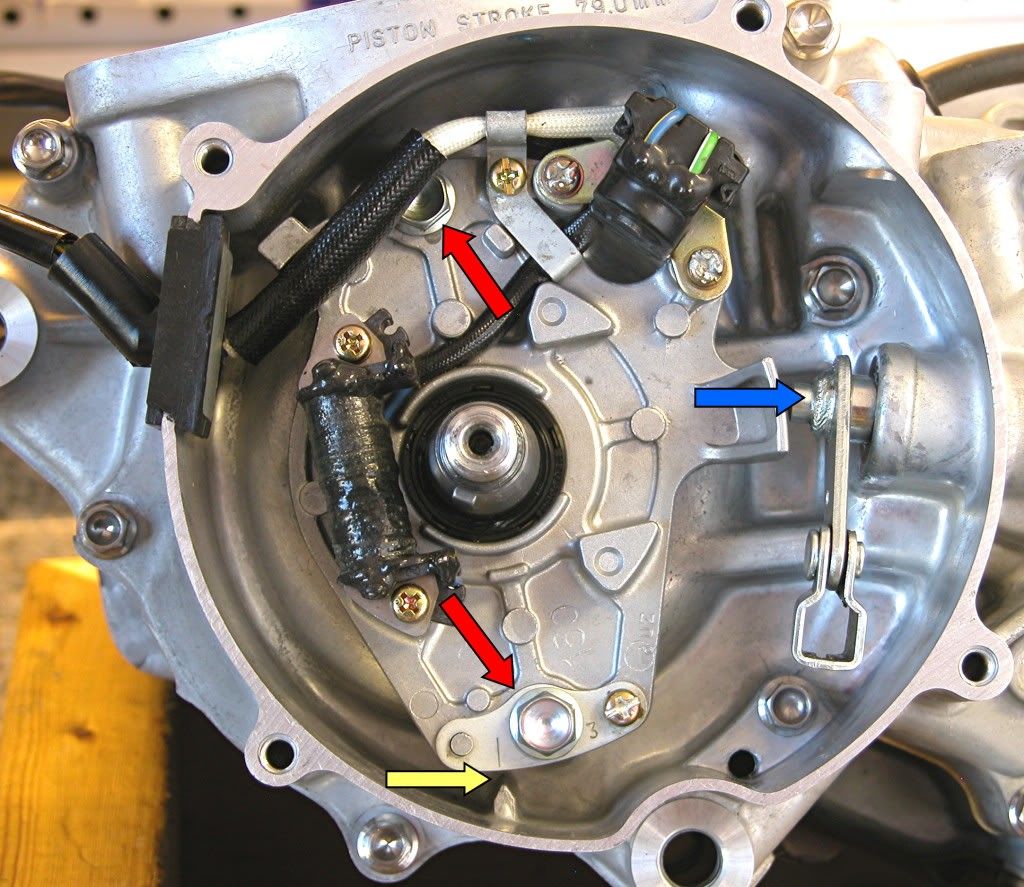
Spin the engine around. Dip the notched shaft of the clutch actuating lever
in gear oil and install (Blue arrow). Mount the stator plate with the two index
marks alligned and tighten the two retaining bolts (Red arrows).
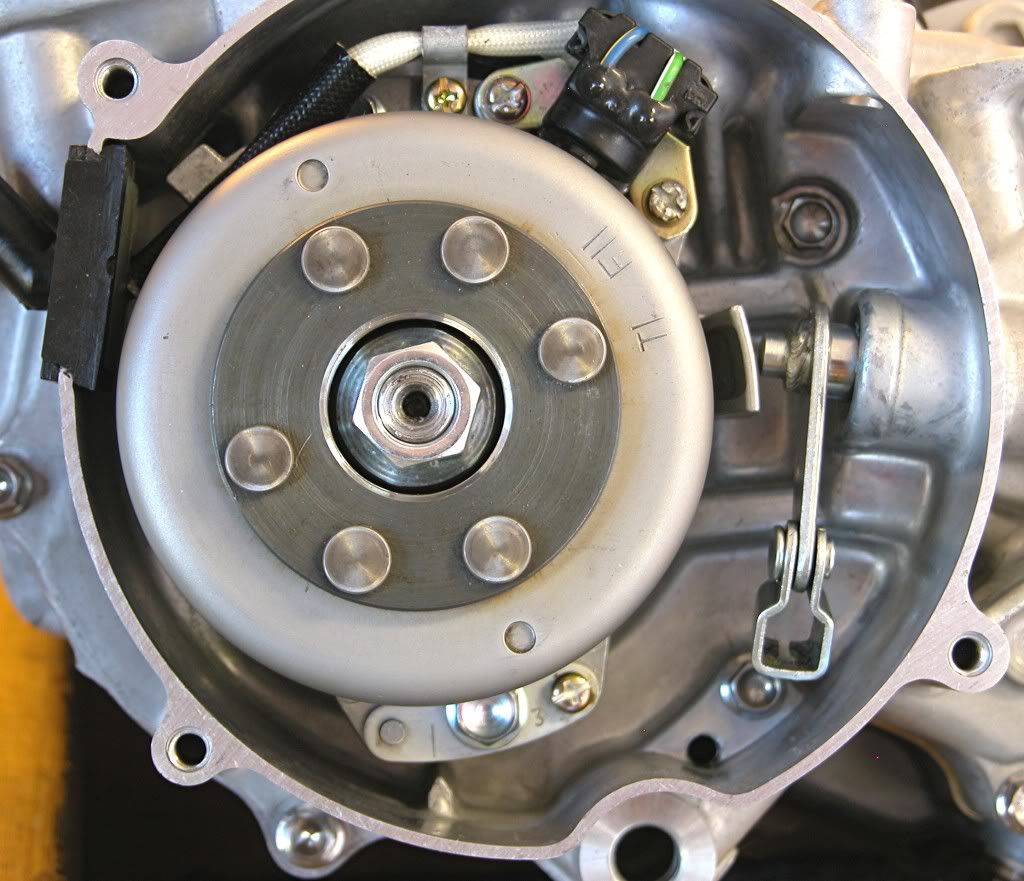
Install the woodruff key followed by the flywheel, flat washer and retaining
nut. Tighten the retaining nut to 40 lb.ft.
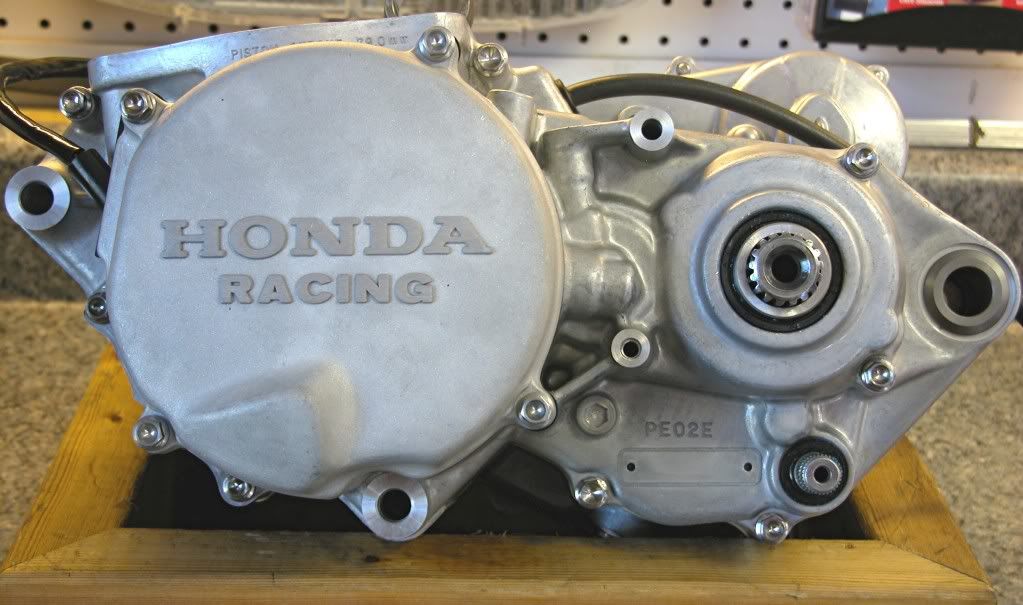
Install the ignition cover.
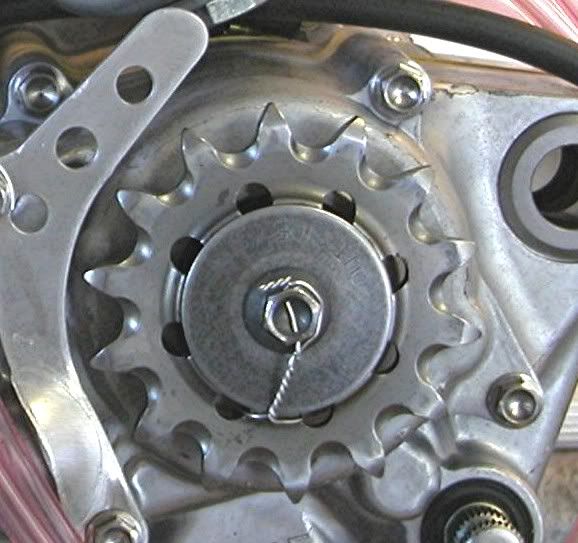
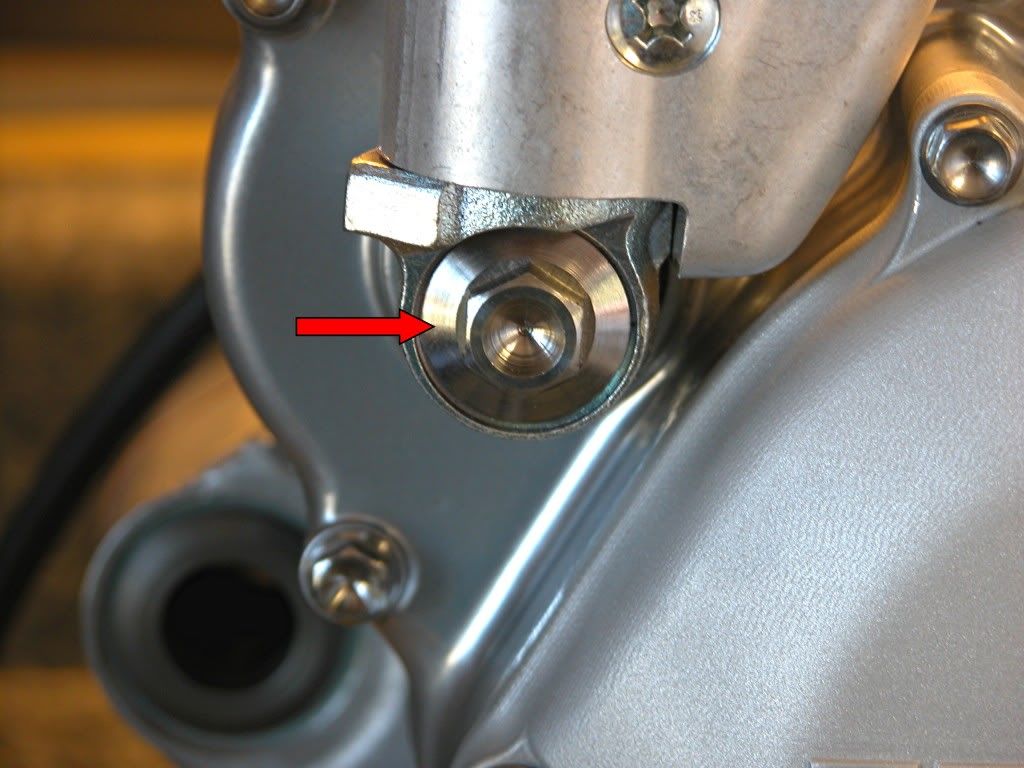
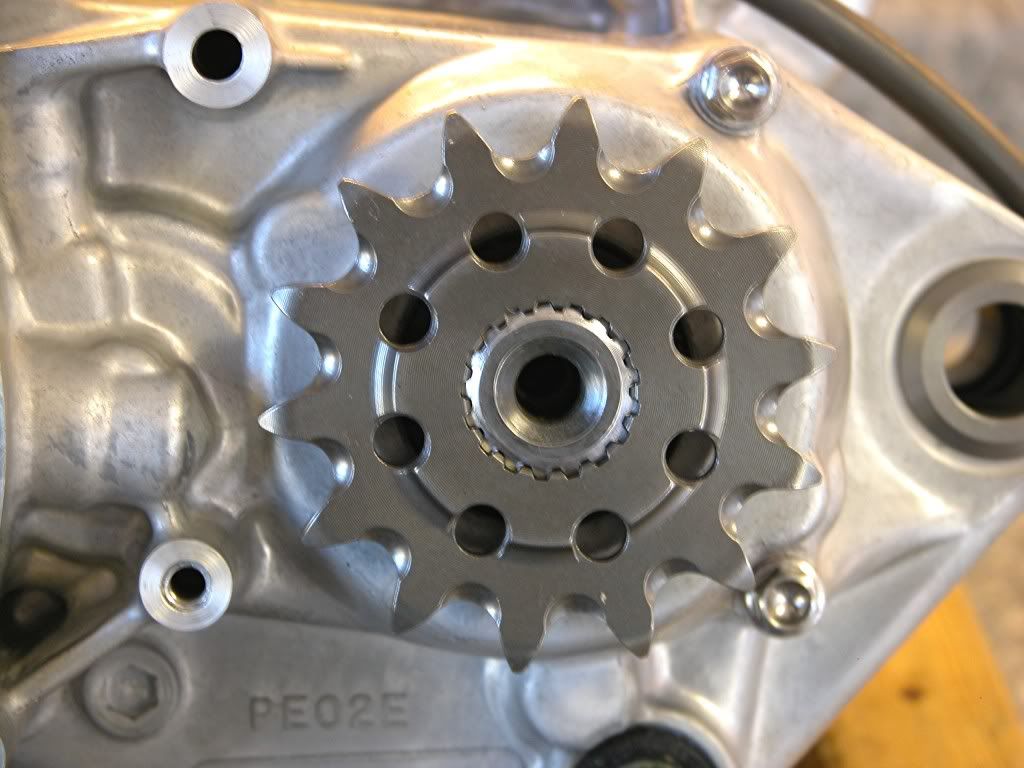
Put the countershaft sprocket on the countershaft with the recessed side
facing the engine.
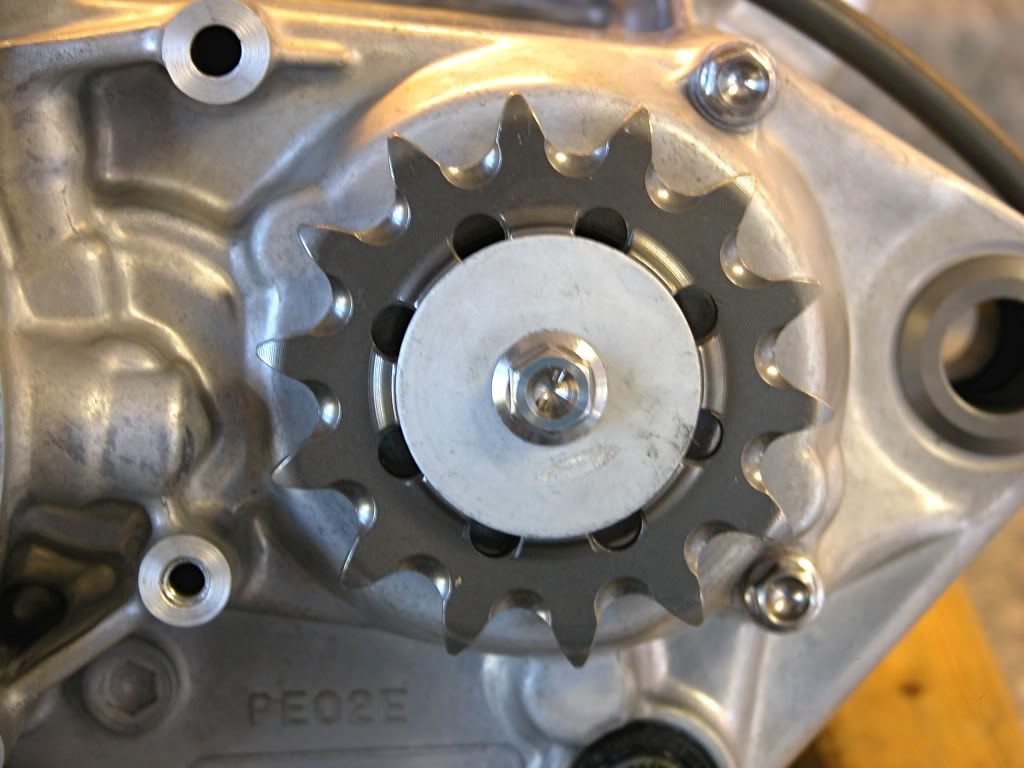
Install the convex lock washer (dome side out) and bolt. Tighten the bolt
to 20 lb.ft.
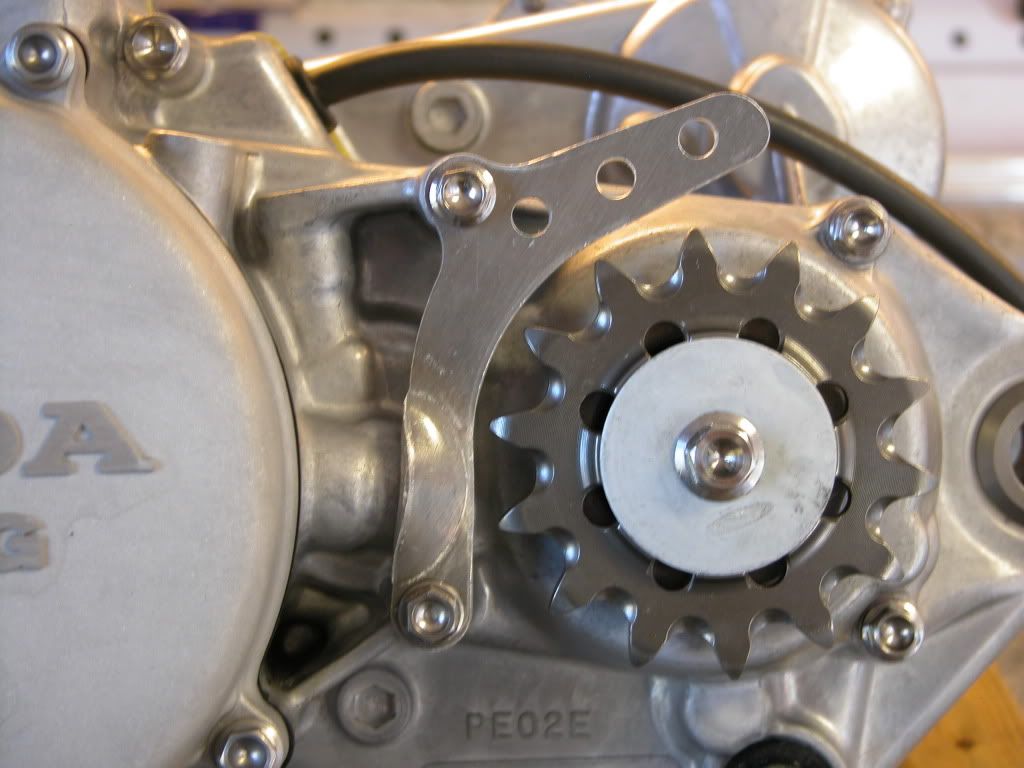
Install the chain guard.
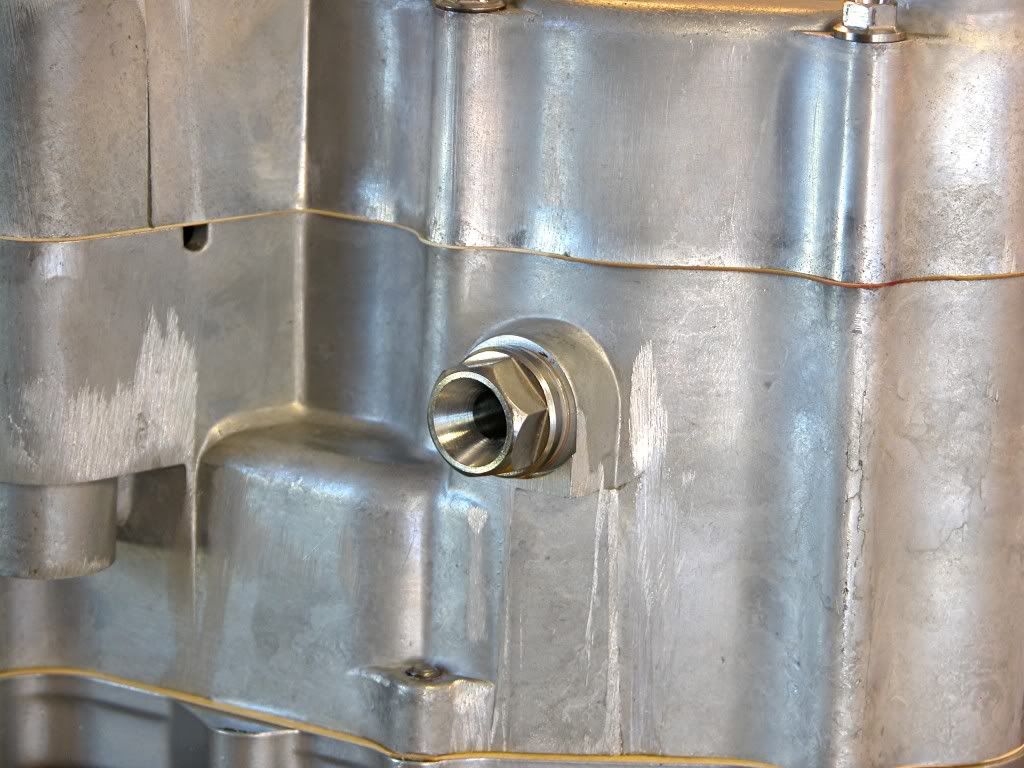
Install the oil drain plug along with a new sealing washer.
That's it for the bottom end. Next up will be the top end.
As always, questions or comments are welcome.
dogger