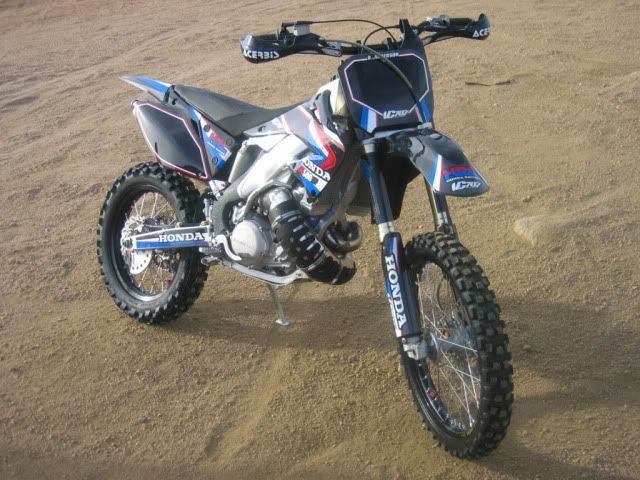
What I had to start: a 2003 CR250R complete bike and my 1991 CR500R complete bike. For the record, I still have that 2003 CR250 motor/carb/electronics for sale, as well a 1991 CR500 swing-arm, front forks, and rear brake assembly.
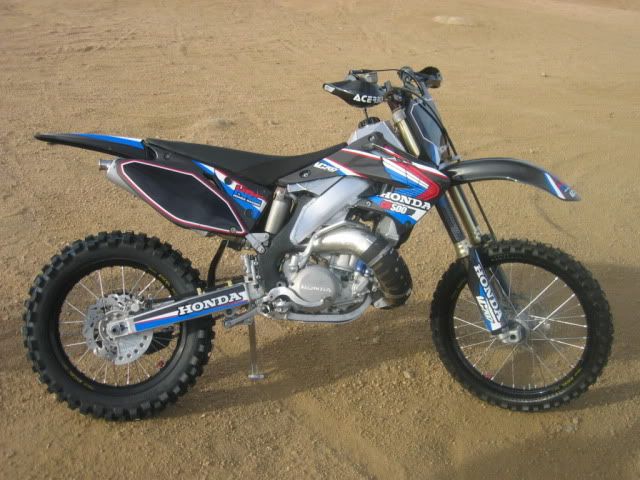
Many thanks are in order for all members that contribute here. I’ve stolen ideas shamelessly from many, got some great suggestions from the guy that I used to do the fab work, and came up with a few of my own. I took her out yesterday for the first trip to the desert and other than some tweaks I still need to make suspension-wise, I’m happier than the proverbial pig in shit. This bike, this idea of this bad ass motor in a modern frame, cannot really be matched for how I want to ride a dirt-bike. Thanks to Service Honda, and everyone of you who has taken that refinement to satisfy your own tastes to the next level. Thanks to Mike Fachar for his time on the phone.
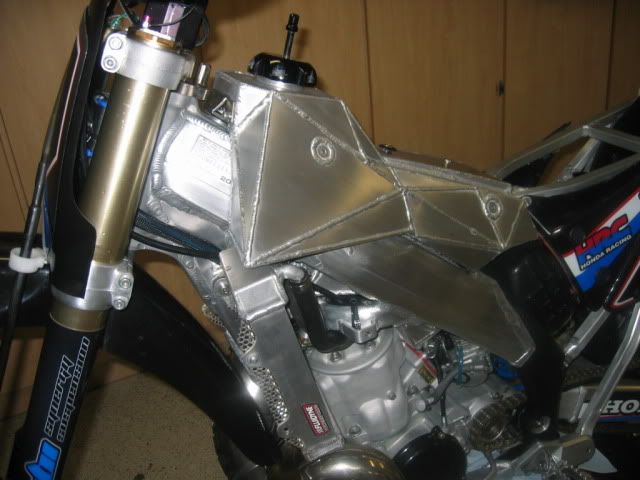
All the fab work (machining/welding) was done by a really cool guy I found on craigslist in Phoenix. He’s interested in doing more frame mods so if anyone is interested let me know. The machine work was great and the welding looks good and has great penetration. I did opt out of any heat-treat. I may regret that later, but time will tell there I guess.
I’d be glad to answer any questions that I can about this build. I’ll throw some pics on here to satisfy anyone’s curiosity.
Here’s the mods in a nutshell.
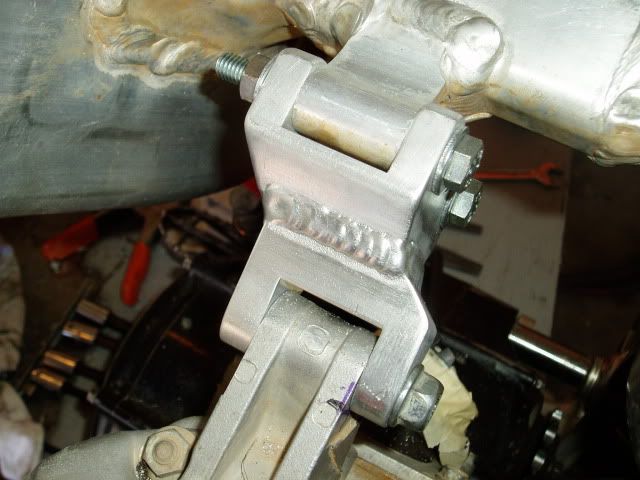
1) Cut out the “Y” and cradle
2) Had billet “Y” machined with integral upper engine mounts and new lower mounts machined and welded to the cradle pieces
3) One piece, two-sided headstay fabbed
4) Pro Circuit Silencer tubing “reworked” to mount correctly to the un-modified FMF Gnarly Pipe. Both of these parts were straight off of the 1991 CR500
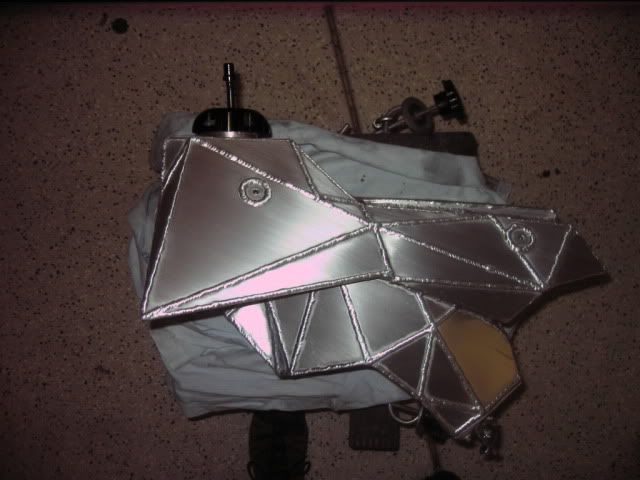
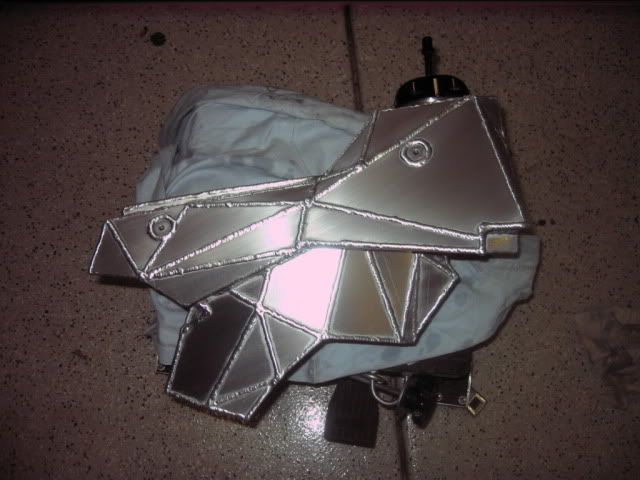
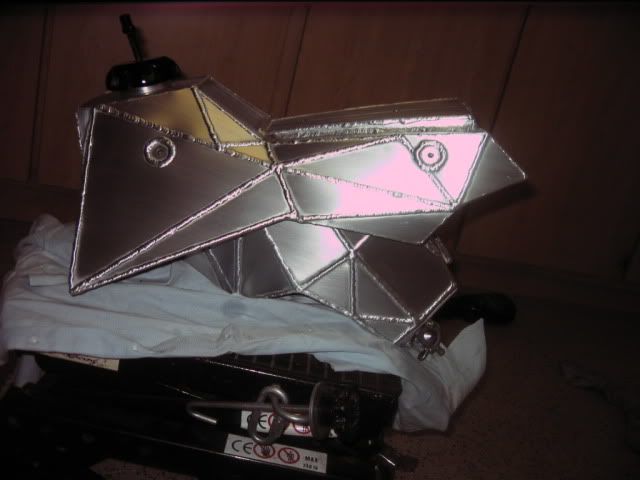
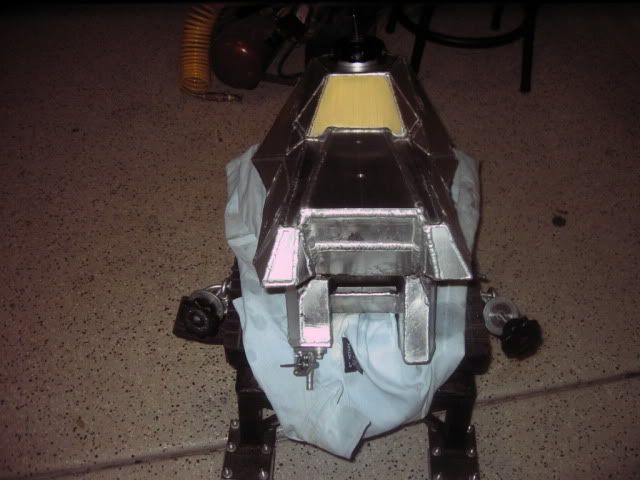
5) Custom radiators built by Neil at Fluidyne Powersports (spendy, but top notch job to my specs and a really nice guy to deal with)
Everything else went pretty smoothly. So take a look at the pics and if you have any questions, let me know.
Hopefully, I loaded these pictures correctly.


Custom radiator guards out of perforated SS

New girlfriend


